
Flour + Water + Salt + Yeast
That’s all you need to make really really great bread! You know the kind you get at the bakery, and I don’t mean the grocery store bakery, I mean THE Bakery in your neighborhood. The one that has beautiful displays of fresh baked bread in the window as you walk by and the smell lingers for blocks as you try to resist! Yes, that bread from that bakery! Well….. it’s not as hard as it looks, I promise! Long gone are the days of those bread makers from the 90’s… the “crockpot ” version of bread makers, as I like to call them. Nope…. take that “old, giant, takes up all your counter space thing”, to Goodwill! Today’s bread is all about the dutch ovens……..
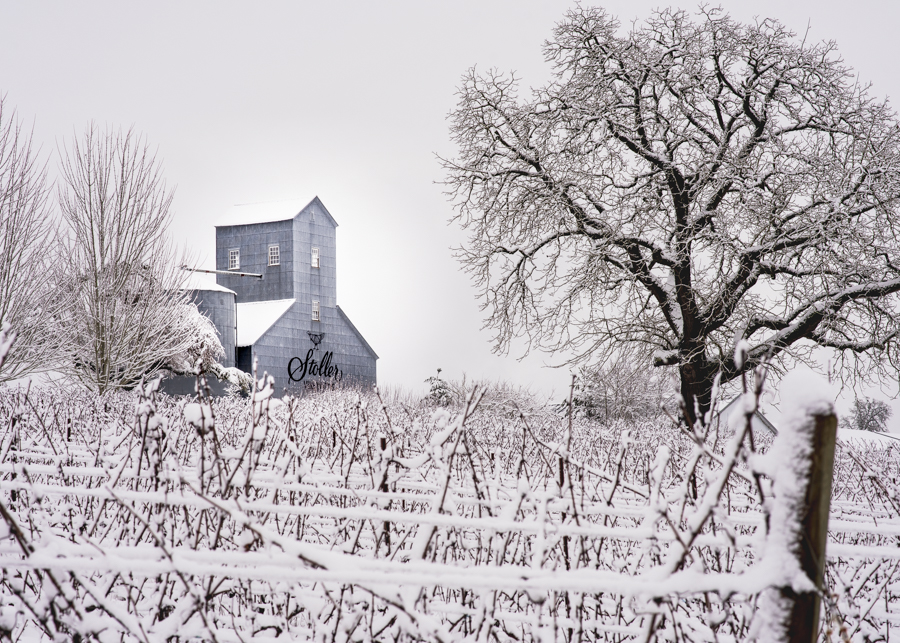
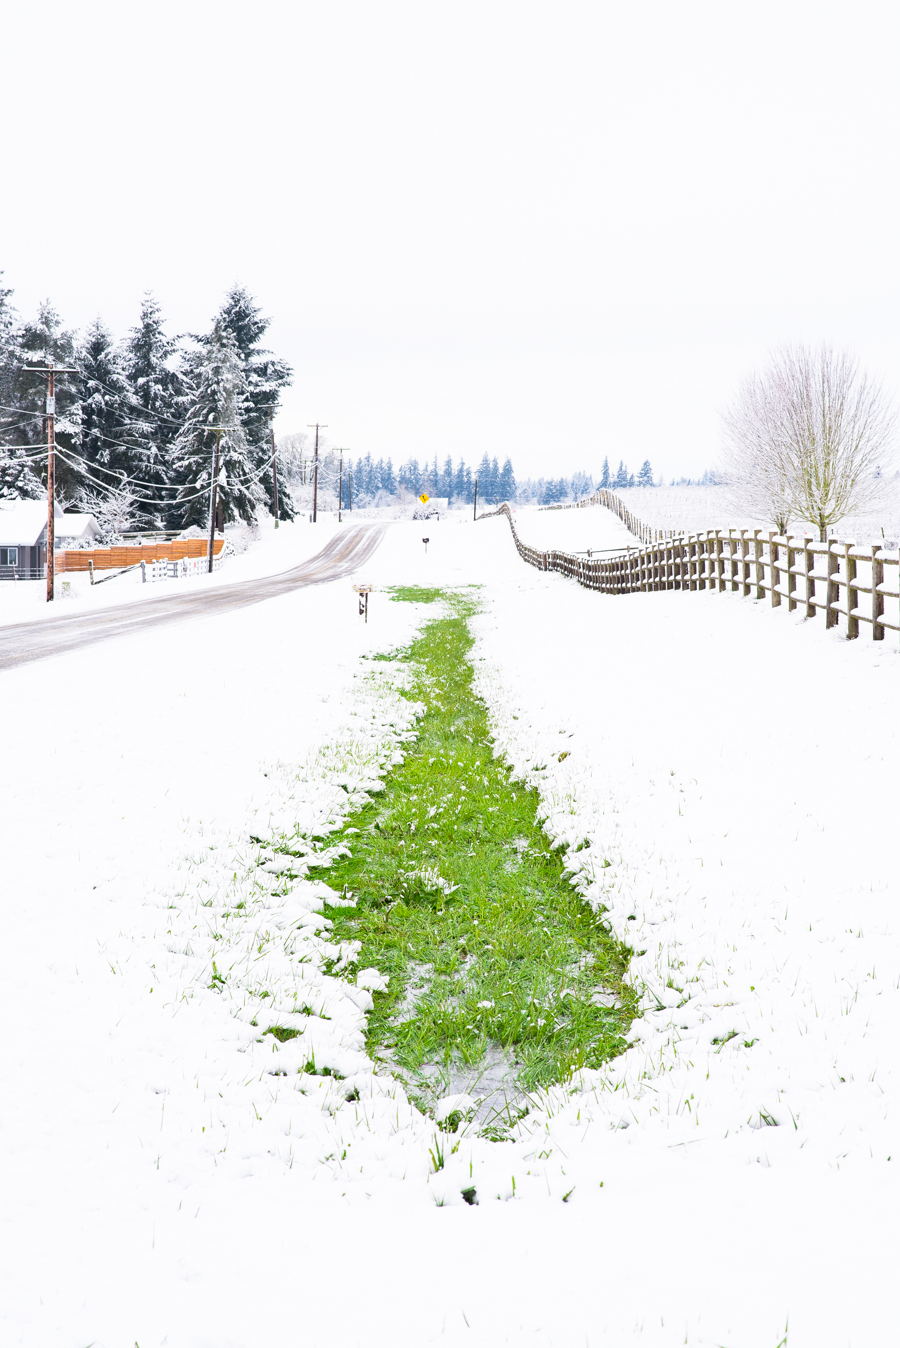
Our winter this year has been one of the worst in about ten years! Blame it on global warming, El whatever you call it, or just changes in the weather altogether, but is has been extremely cold! Oregonians are used to rain and mild temps. It’s no joke when they say we have “webbed feet”! I would rather have mid 40s-50s and rain for winter than 16 degrees and days of ice and snow! While it is pretty, it’s no fun to navigate in. I think our state is not equipped to handle these conditions and I’m sure East coasters are laughing at us now! To get you thru the cold wintery months, I think you need to bake this bread! All I want in this type of winter is hot everything, soup, bread, stews, you name it!
When is Spring again?

Anyone that is living on the West Coast and not under a rock, has heard or read about Ken’s Artisan Bakery. He is the genius behind this recipe. And not to mention many restaurants in Portland! Trifecta is my favorite… oh those Oysters! Well he also has a book full of bread recipes and his famous pizzas too. He also goes over great techniques and differences in flours. A great read for someone interested in baking and a little bit of science that is involved in the process too.
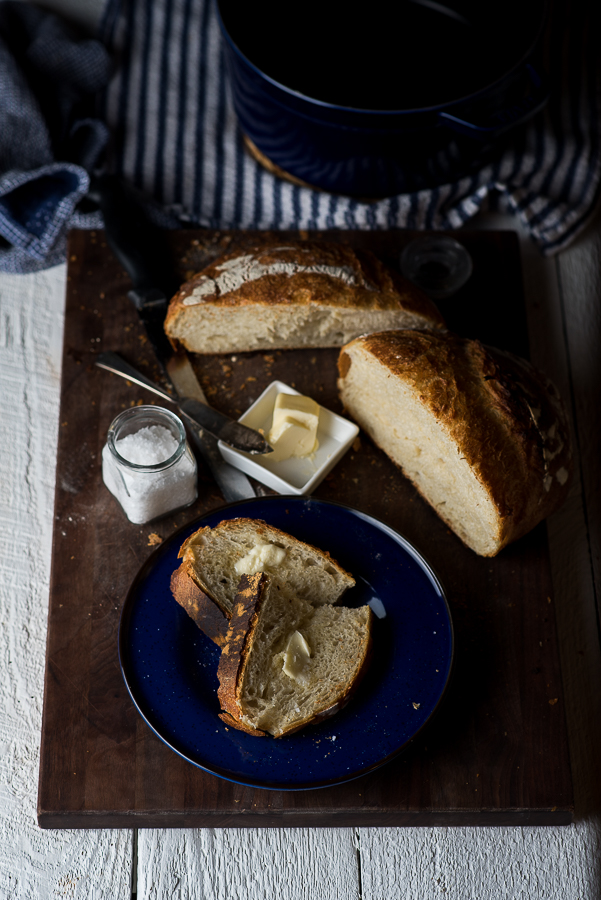
For the holidays in our house, Andrew and I always get each other a gift that entails cooking and cookbooks! We both love to cook and bake, so it seems fitting. I bought him this beautiful cobalt blue Staub dutch oven, not knowing he was going to get me the Flour Water Salt Yeast cookbook! I have put his and my gift to great use! I will never bake bread again the traditional way. The dutch oven is the way to go! We do have a few Lodge dutch ovens, but the Staub cooks so evenly and much better ( I actually made 2 loaves of bread to test it out).
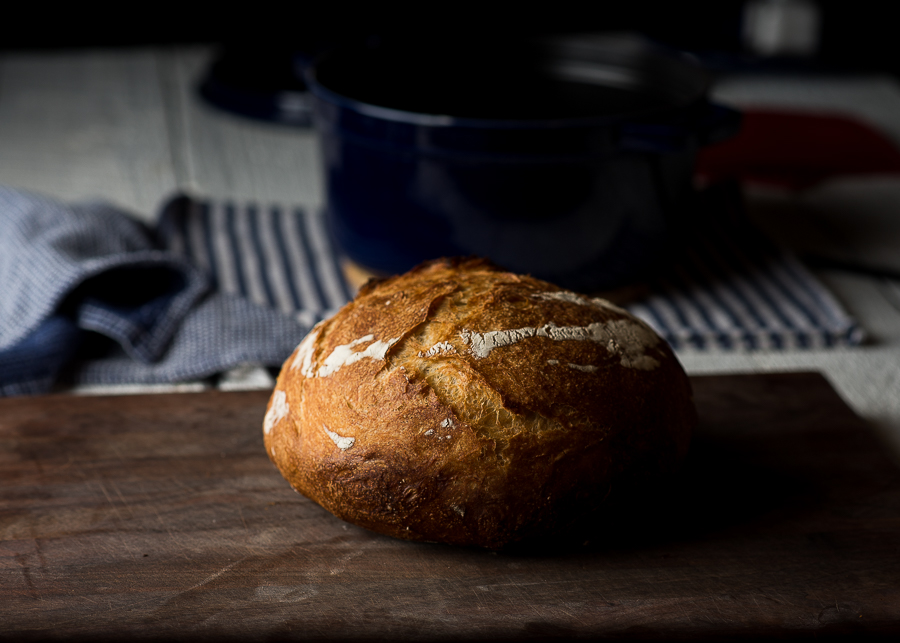

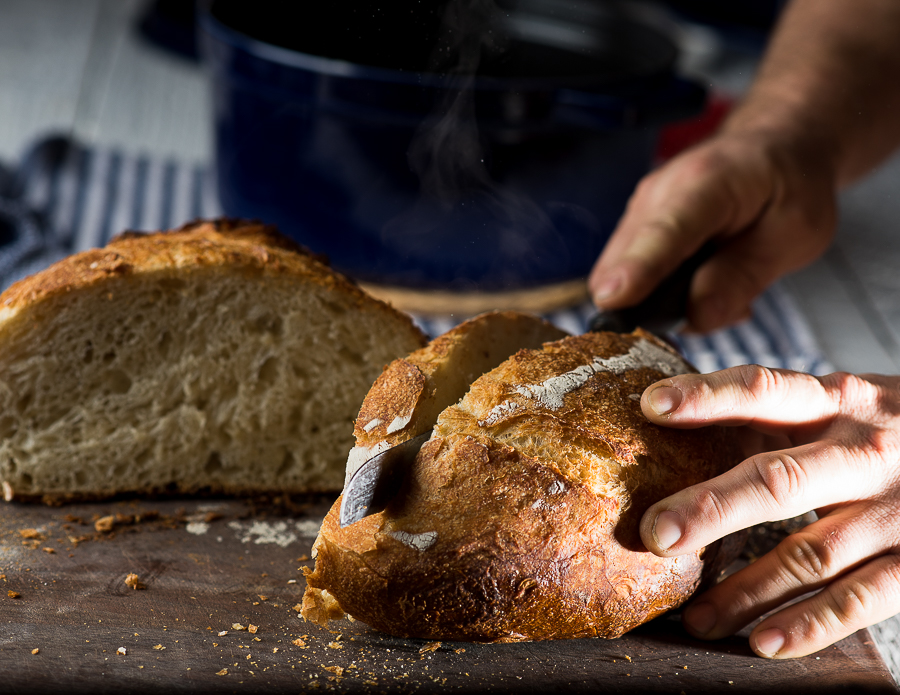
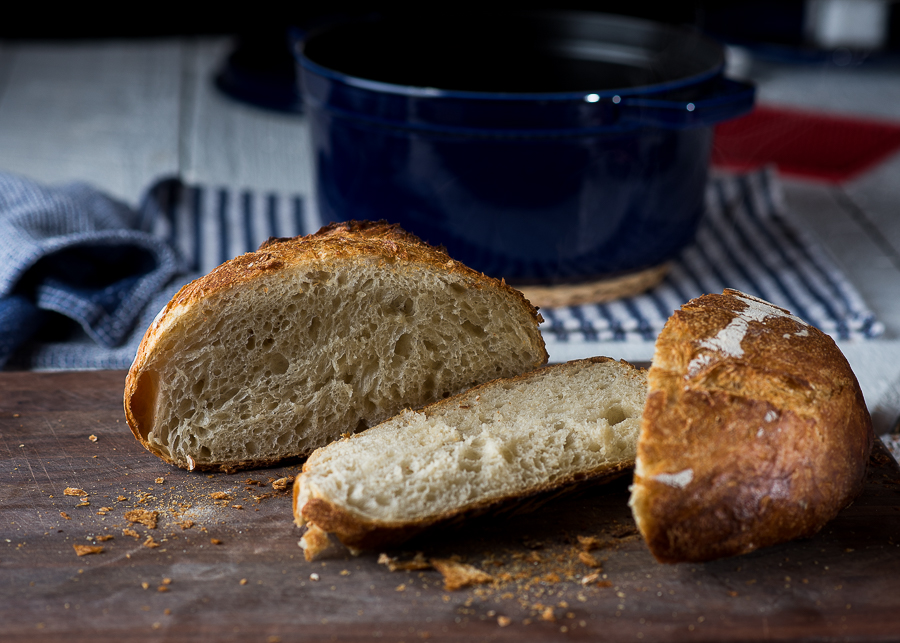
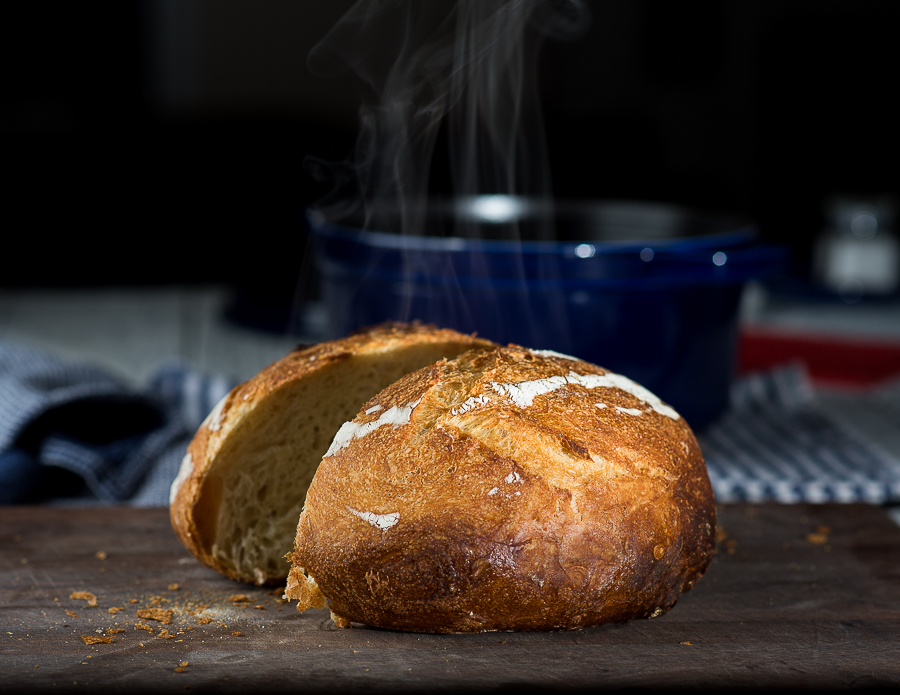
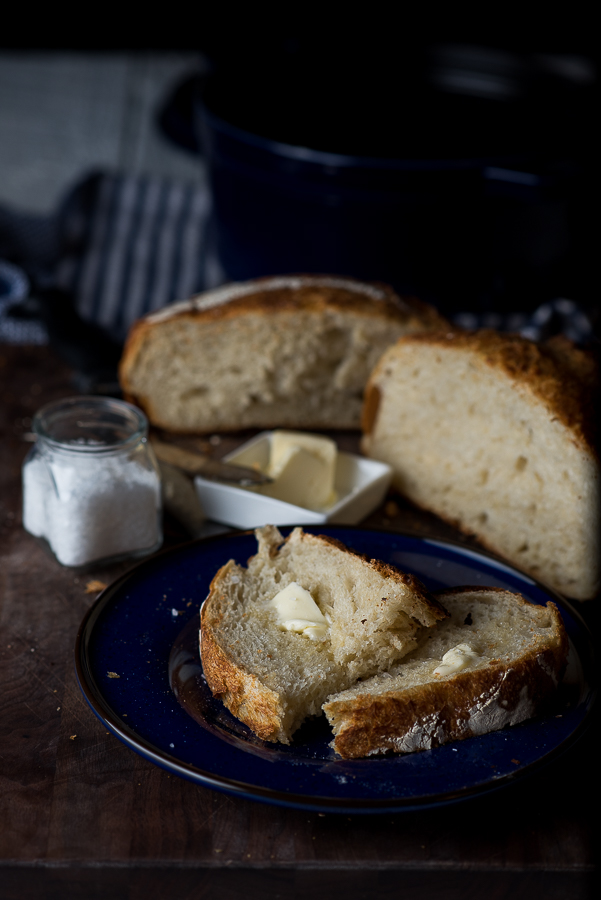
This is one of those breads that is so good on it’s own, with a little butter or olive oil for dipping. No need to complicate something so simple and delicious! The crust has the perfect amount of crunch while the middle is soft, airy, and light. It is best on the day it bakes so plan ahead! By day two it’s a bit chewy, but I’m sure you will not have any left over. If you do have some leftover, you can always make croutons or a savory bread pudding!
Start this bread in the morning around 9 or 10 and you will be baking by 4 or 5 that night! Mix, cover, mix, and cover again… it’s not a fussy bread at all.
A kitchen scale is crucial in baking. Weighing out all ingredients is way more accurate than using measuring cups. You could be heavy handed one day and really pack in the flour into that cup or not put enough in. I find it easier to use the kitchen scale too. Just pour into a bowl while on the scale and you’ve got exactly what you need.
For this bread, all ingredients were weighed, then mixed into one large bowl. I highly recommend Ken’s book for more in depth detail on baking his breads. I have read it more than ten times front to back, and learn something new every time.
Cheers friends, stay warm out there!
Ingredients
- 1000g white flour, such as King Arthur All Purpose
- 720g water at 90-95 degrees F
- 21g fine sea salt
- 4g instant dried yeast
- Note: Yields two loaves of bread
Instructions
- Step 1, Autolyse:
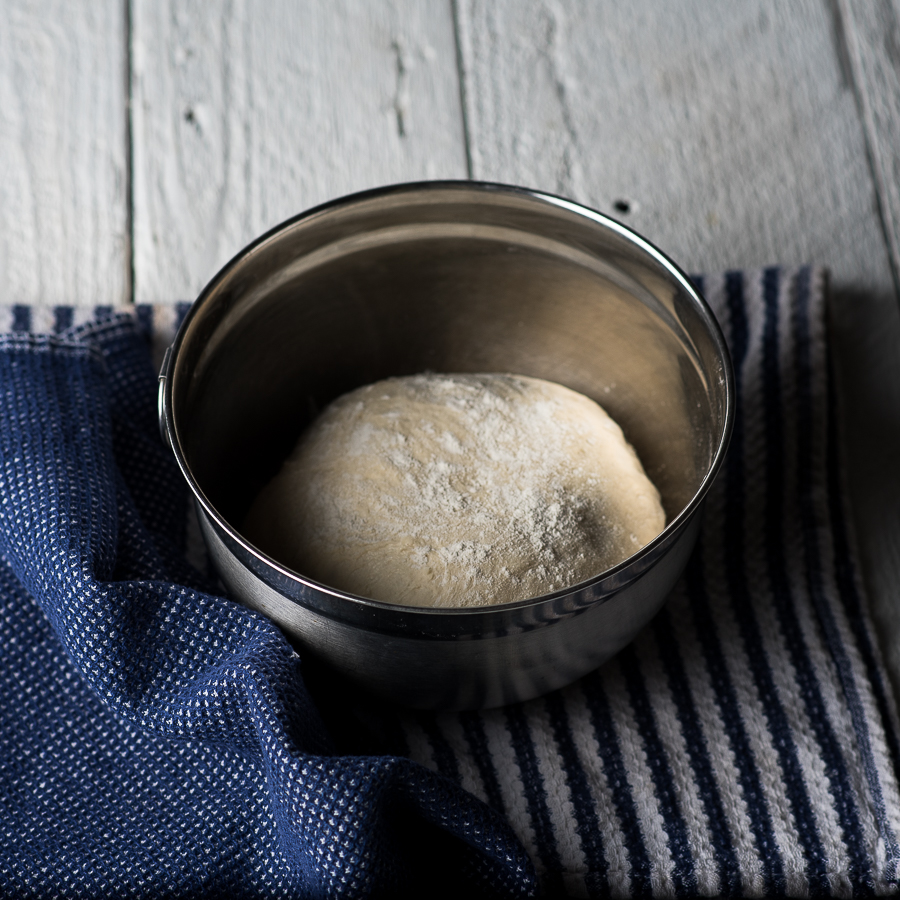
- Combine the flour and water in a large round bowl. Mix by hand until incorporated. Cover with a kitchen towel and let rest 20-30 minutes.
- Step 2, Mix:
- Sprinkle the salt and yeast on top of the dough. Mixing by hand, reach underneath and pull the dough over working your way around the bowl. Next use the pincher method to mix. Starting on one end of the dough, pinch the dough together with you thumb and index finger working your way across the whole dough. Continue stretching the dough from underneath over the top until your salt and yeast is thoroughly combined. Let rest for about a minute, then repeat another fold, the dough should tighten up a bit. Cover the bowl with your kitchen towel and let rise.
- Step 3, Fold:
- The dough needs two folds before baking. This should be done in the first 1-2 hours of the dough rising. When the dough has tripled in size, it's time to divide and bake. About 5 hours after mixing.
- Step 4, Divide:
- On a floured work surface, gently tip your bowl over so the dough comes out. Cut the dough in half using a bench scraper.
- Step 5, Shape and Proof:
- Dust two proofing baskets ( or bowls ) with flour. Shape each piece of dough into a medium tight ball. Using the same method as the fold, pull the underneath side over the top working your way around until it is a tight ball. Place the dough, seam side down in your basket or bowl. Cover with your kitchen towel and let proof for baking. This could take anywhere from 1 to 2 hours depending on the temp in your kitchen. Use the finger dent test to know when they are ready. Lightly push in the dough with your index finger, if the dough springs back slowly then it is ready.
- Step 6, Bake:
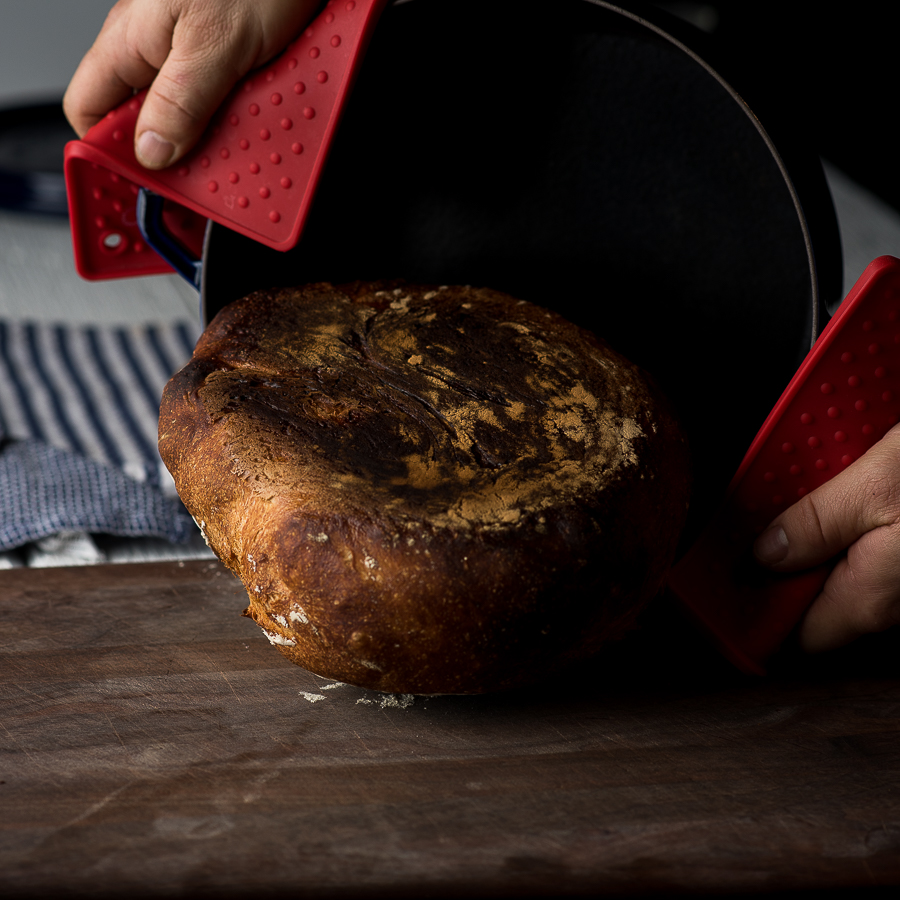
- While your bread is proofing, preheat your oven to 475 F. place your dutch oven with lid on, in the oven and preheat for at least 45 minutes before baking. Carefully remove dough from proofing basket and place seam side up in hot dutch oven. Bake for 30 minutes with the lid on, then remove the lid for the last 15 minutes. Carefully watch the last 10 minutes of baking so you don't over cook the outside of the crust. Every oven is different.
- Remove bread from dutch oven immediately when done. It should tip out easily. Let cool on a wire rack for 15-20 minutes before slicing into the hot bread.
- Enjoy!
Aubrie
Steamy! …Bring me some bread…I have the olive oil and wine. ;)
Tiffany
You got it Aubrie!
Bee
Turned out beautifully! Great shots :)