Ridiculous Cinnamon Rolls
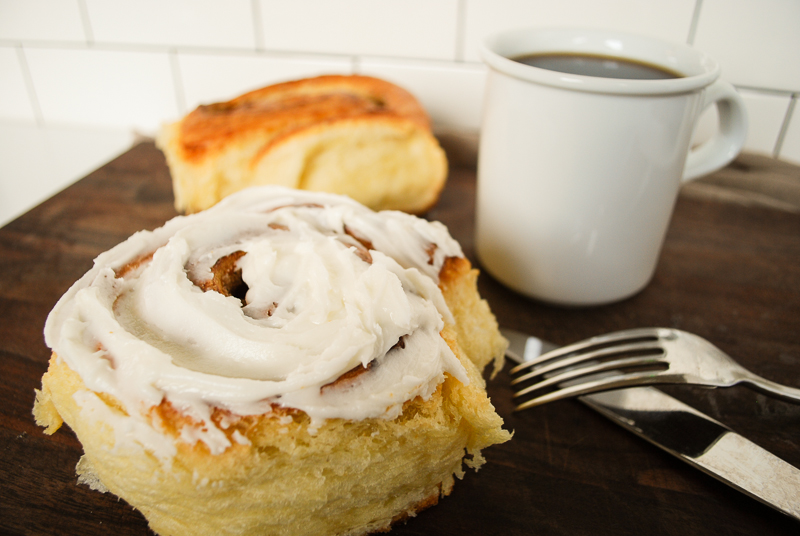
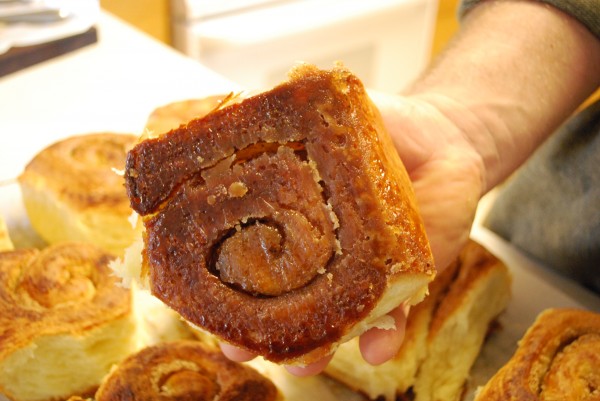
Yes, Ridiculous Cinnamon Rolls, why you ask? Because they are dang good, that’s why! I kinda feel bad Tiffany has tried several times to make a good cinnamon roll for a post with less than desirable results. Being frustrated with the whole matter, I mentioned that I had made these Ridiculous Cinnamon Rolls once back in the 90’s that were a cross from a croissant and a roll of sorts. After a little digging I found the recipe that I had tweaked for this post. I wanted something substantial, and yes the obvious, something I could wrap my mouth around or at least try. I will steer clear of any notion that these are anyway good or healthy for you. There buttery rich content along with large and in-charge size with a dash of caramelized candied bottoms make these a once in a while kind of thing for sure. Although eating these rolls may not be the best for you, the silver lining may be it is quite the process to make these beauty’s, maybe even burn a couple of calories in the process rolling these out the 3 separate fold and rolls to layer the slab of butter between the layers of dough.
Getting started these have 5 components to the the process’s that with a little attention to detail make these bad boys amazing. Starting off the first important component is the ugly dough and it is exactly that, ugly. During the ugly dough process our brains want us to keep mixing but I will stress this is one of the most important step not to over work the dough by mixing which develops the gluten in the flour. Just remember mixing = gluten To start off you just want to mix up all your dry ingredients first so that the milk powder, salt and flour are mixed well. Secondly combine the wet and dry and fold in the milk and yeast mixture just until combined using your bare hands is really the gentlest and best way to to here. Your mixture may look ugly and if so you are on the right track, It should look combined and a little lumpy. Then cover the bowl with plastic wrap and refrigerate for a hour or so.
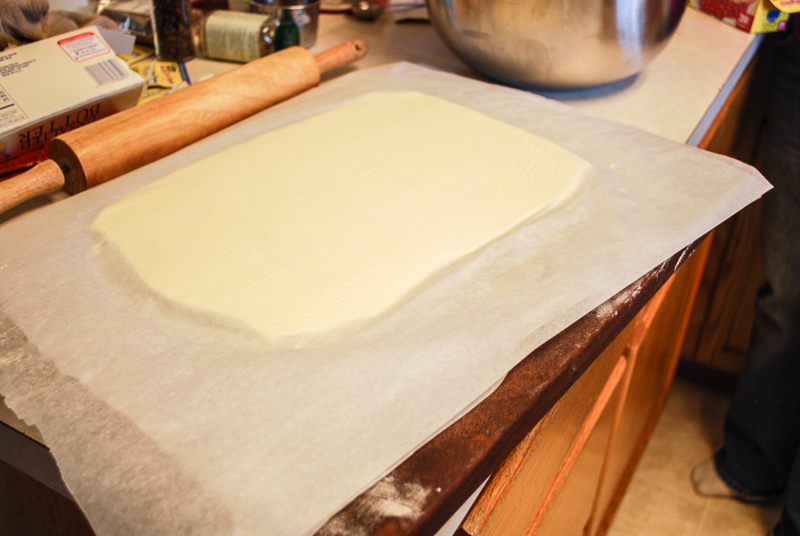
The second component is the butter slab, yep a slab of butter. This slab is 1 1/2 pounds of pure unsalted butter. In this component we have to slightly soften the butter so that we can knead it and shape it into a block so that we can layer it between the dough, I left my butter out on the counter for 30-45 mins at room temperature With two table spoons of flour and masher, I cut the butter into 1/2″ thick slices and mashed away to combine the flour and soften the butter further. Then I layered the mashed butter between two sheets of parchment and rolled out to about 10″ X 13″, or about a 1/2″ thick. The butter slab should be playable and soft much like clay and the temperature between 50-60 degrees. If the butter is to hard or to soft it will not layer in the dough properly. I actually made mine right after I made my dough and place it into the refrigerator until the dough was ready to come out, I remove it the same time as the dough and let it sit on the counter while I rolled out the dough.
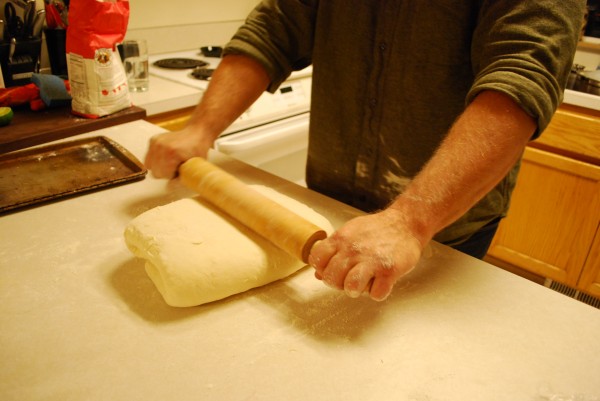
Thirdly, combine the dough and the butter slab. Remove the dough from the refrigerator and roll out the dough so that it is a little wider and a little more than a third longer than the butter slab. Next lay the butter slab right on the dough. Then fold the butter slab and dough just you would a letter into thirds, taking the long dough side and folding onto the butter covering it by one half. Take the opposite side fold the dough and butter layer back over the side you just folded. The whole theory during the folding, turning and rolling process is to create layers of butter and dough. Next turn the package 90 degrees so that the open end is facing away from you and roll out. Continue by folding again in thirds like a letter and rolling once more and fold once more. Cover with plastic wrap and let rise in the refrigerator for 1-2 hours. Fold, turn and roll 3 more time then let refrigerate overnight.
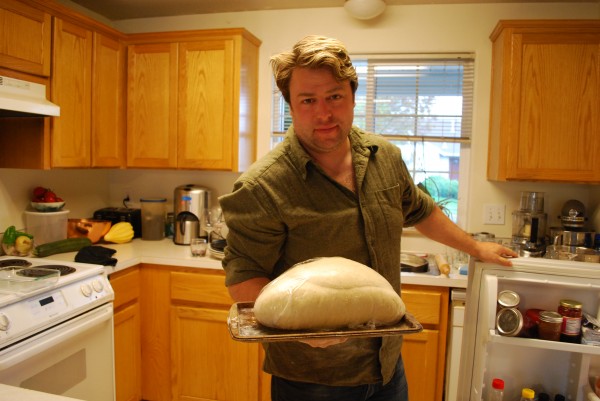
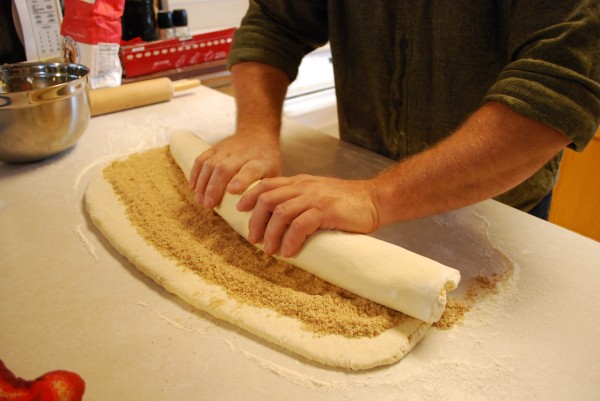
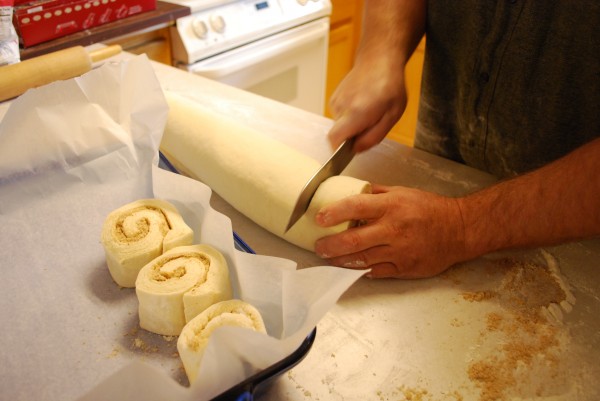
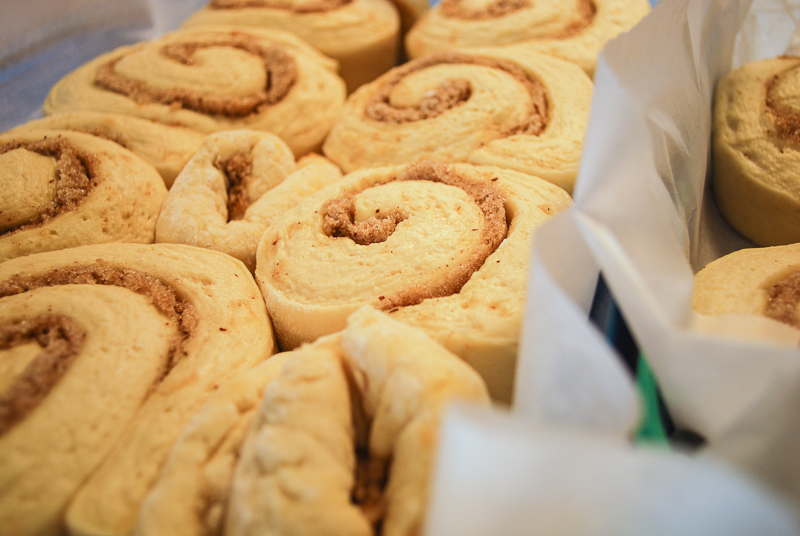
Fourthly, rise, fold and roll. After over night in the refer the dough will have risen into a shape that closely resembles a pillow. Gently unwrap the pillow of dough and then fold, turn and roll out 3 more times. At this stage we can finally make our rolls, take the dough and turn one last time and roll out the dough into 1/2″ thick. If you want to make smaller rolls, I suggest you roll the dough out into 1/4″ sheet although you may want to halve you dough and shorten you cooking times. Place the sugar cinnamon over the dough and roll them up. Cut the roll into about 1 1/2″ pieces and place into a large baking pan with high sides. Cover and place in a warm place to rise for an hour and half.
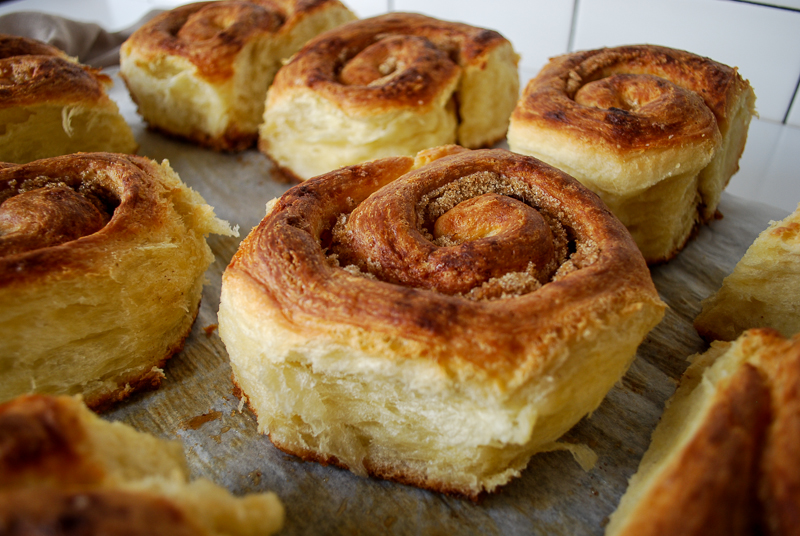
Fifthly, place into the oven and bake them off. Pre heat your oven to 400 degrees and bake for about an hour and half. Be sure to keep an eye on these baby’s and check them after 45 minutes. They will get to brown and you may have to cover them with some foil to keep the tops from burning depending on how your oven works. I check done-ness by pushing on the rolls towards the middle of the pan and pushing down, the more done they are the firmer they will be, if not it will feel squishy although the top will have a firm crust on them.
Well I hope this arduous task has has yielded great results. I had a lot of fun making these rolls and I hope the work is worth the rewards for you.
Enjoy!
Andrew
The Butter Slab
The Fold and Roll
Pillow O Dough
Roll Out and Roll UP!!!
Cut Em Out!!
Let Them Rise!!!
Crunchy Caramelized Candy bottom
Proofing of the Yeast:
2 packets active dry yeast
1 cup warm water
1/4 cup unbleached flour (King Arthur or all purpose)
Ugly dough:
3/4 non-fat powdered milk
2 cups cold water
8 cups unbleached floura (King Arthur or all purpose)
2 tbs kosher salt
Butter slab:
1 1/2 pounds butter (3 cups)
2 Table spoons unbleached flour
Sugar layer:
1 cup brown sugar
1 cup regular
1 1/2 freshly ground Mexican cinnamon
3-4 whole cloves freshly ground
BeckyMcNeer
Andrew, these look incredibly ridiculous! :) Wow, I’m so full right now, but I could make some room for these. Please share at Foodtastic Friday!
Marisa
I can confirm that these are ridiculously amazing!